
Slow, steady progress is better than daily excuses.” Robin Sharma
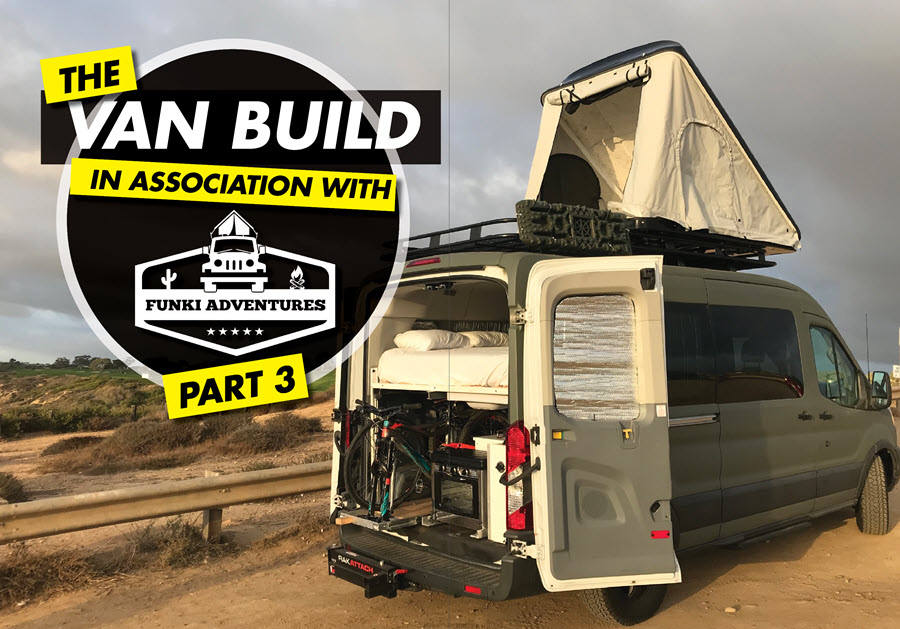
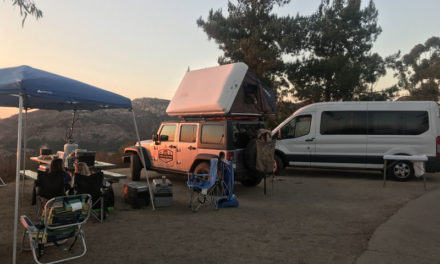
Having started with what looked like … well, let’s be honest, an airport shuttle or plumber’s van, we have now reached a milestone where our Ford Transit can realistically be labeled as an ‘Adventure Van’! Progress has been slow, a little unsteady and occasionally better termed as ‘regress’. Still, now we have a ‘Soft Overland’ rig capable of taking adventurers a little off the beaten path.
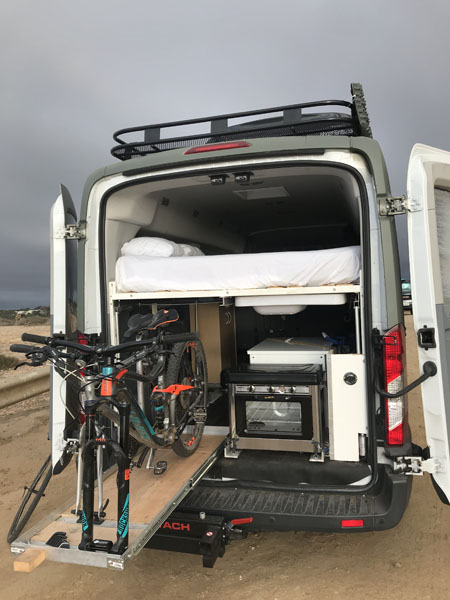
In our last article on the build, our biggest issue was being able to fit bikes under the bed, but without the bed being permanently mounted too close to the ceiling. Adjustable height beds are available for camper vans, but the costs are expensive. As we don’t have much left in our budget and also like a bit of a challenge – it was time to get creative!
The existing bed already had mounting channels fixed to the interior walls. When not bolted in, the bed could slide up and down within these channels, but it’s heavy and hugely cumbersome. A search on Amazon yielded 12v linear actuators , which are typically used in hospital beds, tables or any other large pieces of industrial furniture. Each actuator can lift 225 lbs (102 kgs). By putting one at each corner of the bed, there was enough lifting power to raise and lower a Polar Bear, or maybe a full sized adult cow – it really depends what you like to cuddle at night.
With a little ignorance and brute force, the bed was successfully mounted on 4 actuators, wired through a rocker switch to our Nature’s Generator battery. With about 18” (45 cm) of travel, when we need to load bikes onto the interior sliding rack, we now have plenty of room. If no bikes are on-board, the bed can be dropped down onto the top of the slide-out kitchen, leaving enough headroom for your Polar Bear (or cow) to sit up comfortably in bed.
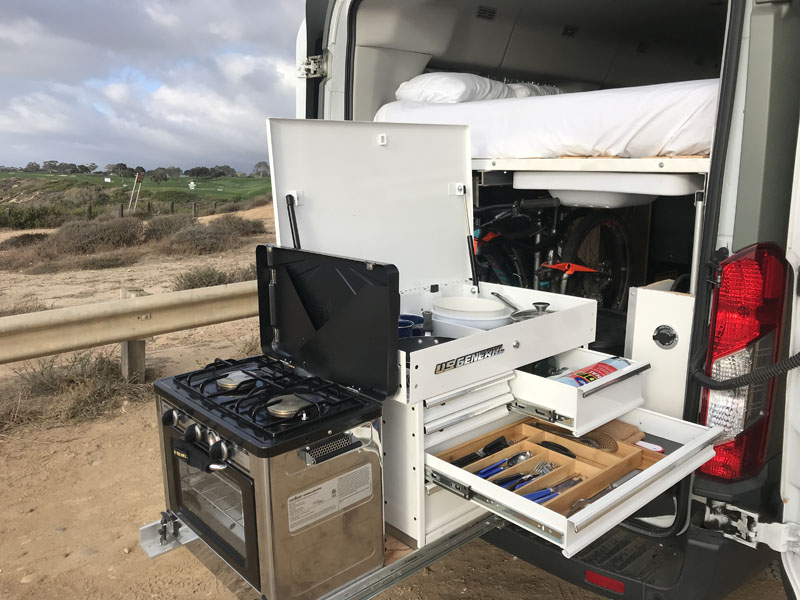
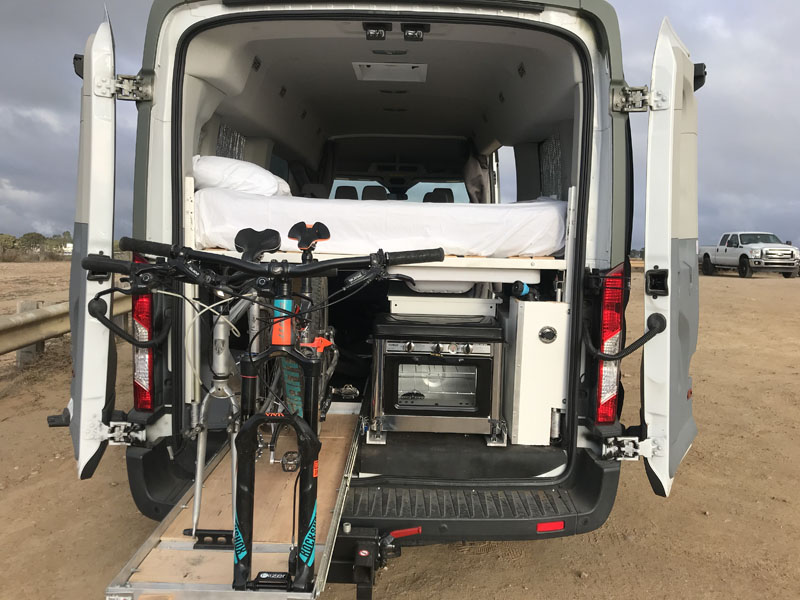
On the topic of the kitchen, we had tried the Pull Kitchen, a beautiful piece of workmanship … but it had one major flaw: it was permanently attached to the van. Reluctantly, we returned it to the manufacturer and set about building our own, more industrial (read: cheaper) unit which better met our needs, i.e. an ability to cook away from the van if needed. Using our experience from building the bike rack, another set of 400 lb (181 kg) capacity drawer slides were mounted parallel to the existing rack. Being impatient and lacking any appreciation for aesthetics, we bolted a large tool box to it …. And it’s brilliant! Sliding drawers, loads of space and it’s made of steel. At the end of the sliding platform we even added a Camp Chef Oven, complete with dual stove burners on top. This can be lifted out of the van, or if feeling lazy, can be left in place and cooking can be done right outside the rear doors.
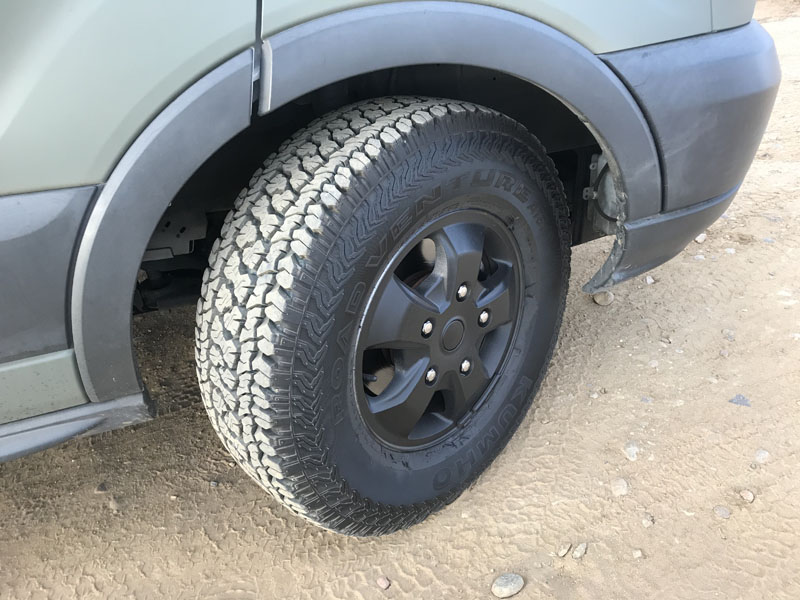
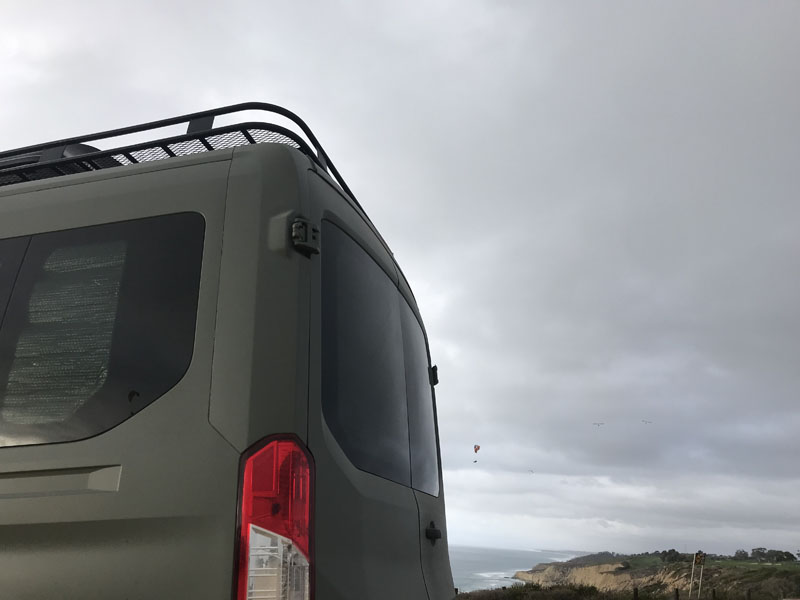
The last task: Make the Transit look less like an ice-cream truck and more like a trail ready rig. A color change was inevitable, so an online purchase of approximately $600 worth of plastidip, combined with an $800 payment to a man with a spray gun and booth and our baby suddenly went from Amazon Delivery to Army Dedicated, overnight. The standard small Ford wheels and tires now looked pitiful. A set of larger off-road tires and a can of black plastidip on the alloys – voila … the look was coming together.
Adventures are best with friends and family. With one queen sized bed inside, the realistic sleeping capacity was 2 adults and one child. This wasn’t enough. We scraped the bottom of the piggy bank and came up with enough to buy a roof rack, upon which was mounted a roof top tent. We did learn a lesson when it comes to getting what you pay for – the roof rack was purchased from a local (Southern California) business called Baja Voodoo. It was well priced, but within 3 weeks of installation, the rust started coming through. Baja Voodoo have not returned our calls or emails … lesson learned. Sanding and repainting a large, Transit mounted rack is no fun – but it had to be done.
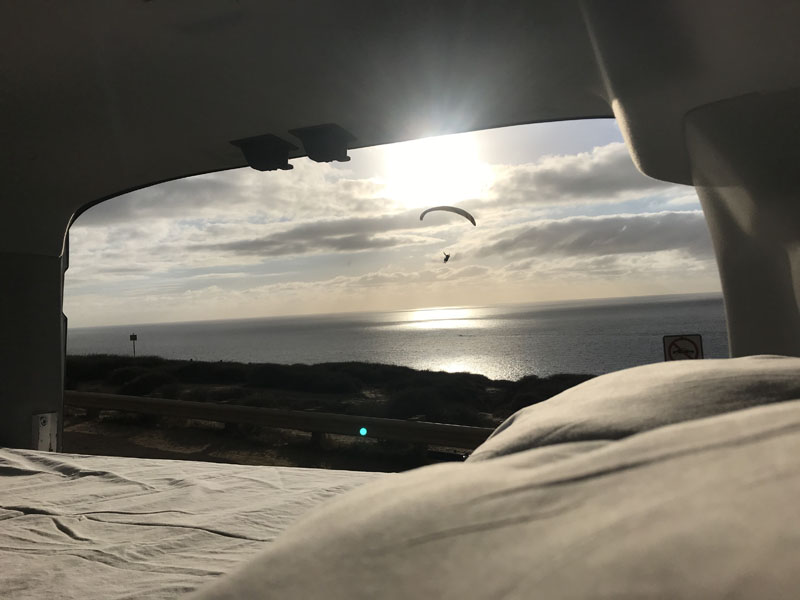
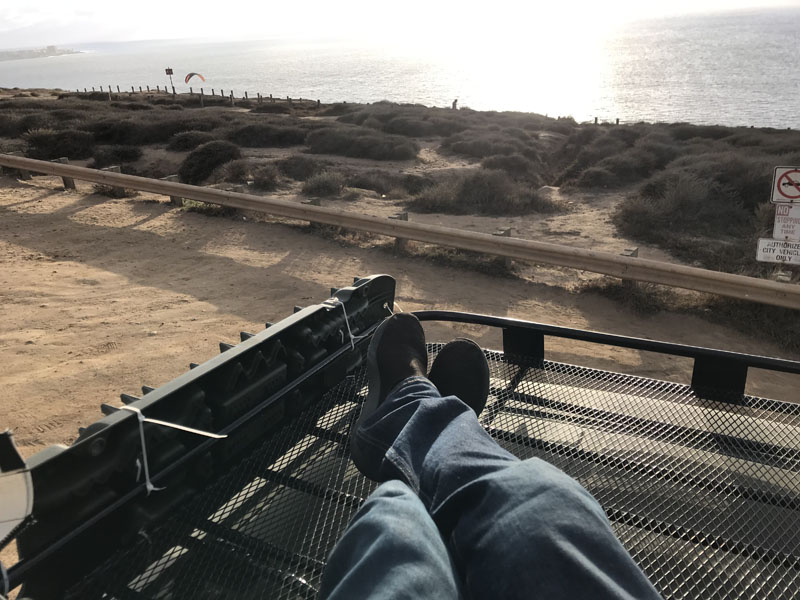
The roof top tent holds 2 adults and one child, giving the van a capacity to sleep 6 comfortably and with 2 separate sleeping quarters. Our little ‘piece de resistance’ is the patio outside the rear of the tent – a great little spot where you can sit, be elevated above any nearby vehicles or people, and enjoy whatever view you’ve chosen to absorb.
Like a house, this van will continue to have work done to it, evolve and be improved. However, for a small team of friends with little to no fabrication skills, or knowhow, we’re pretty proud of the result. This build (excluding the price of the van) is estimated to have cost $15,000 (12,300 Euro) including the roof top tent. That’s considerably cheaper than the $30,000+ you’d have to pay for a professionally built equivalent (not including the van). With the pandemic pushing a record number of people to try road trips, this van is a very welcome addition to the Funki Adventures Fleet.


Recent Comments