
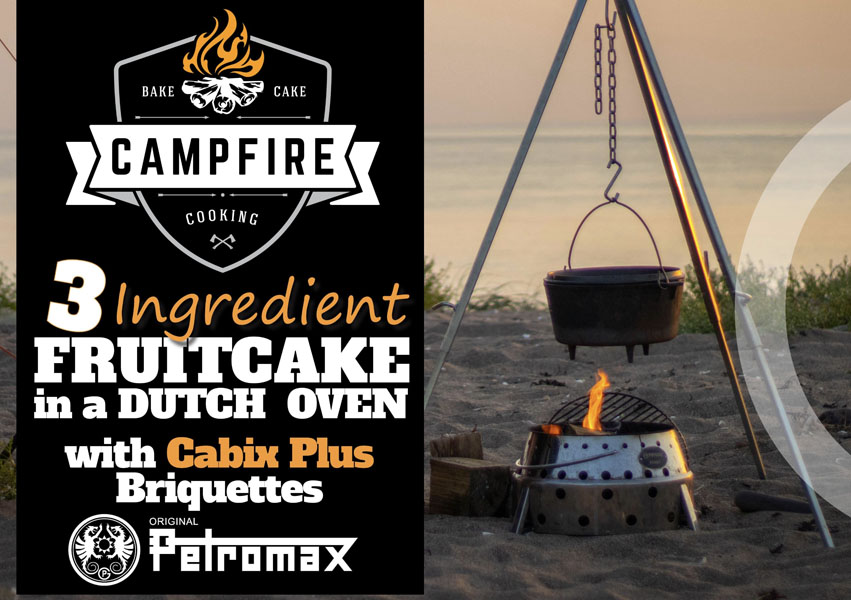
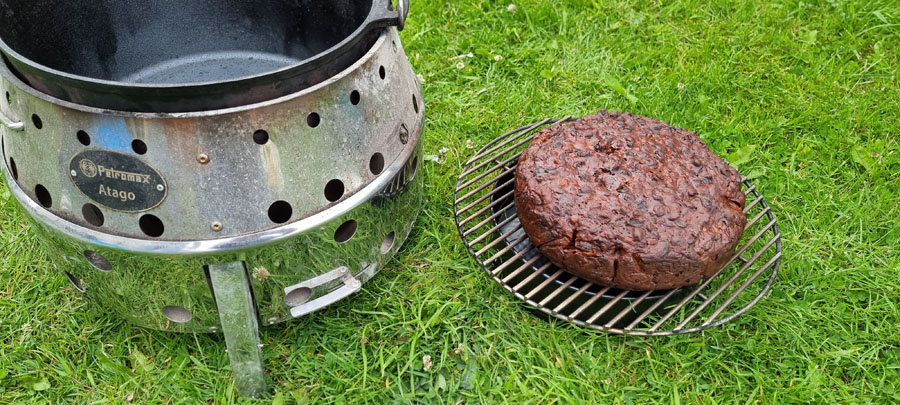
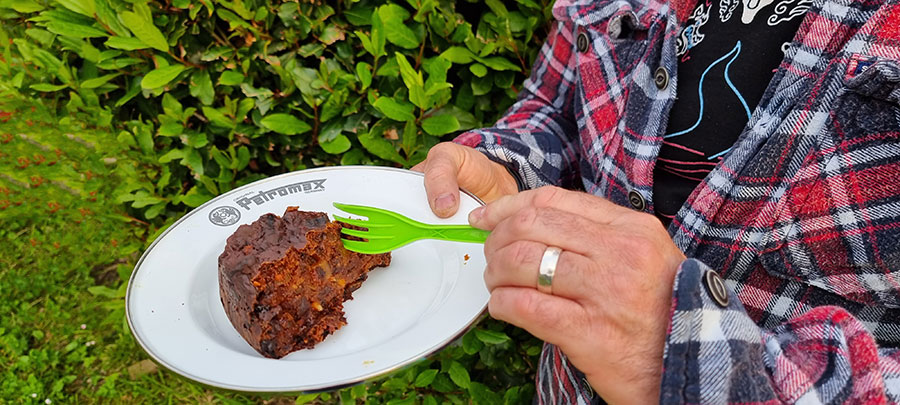
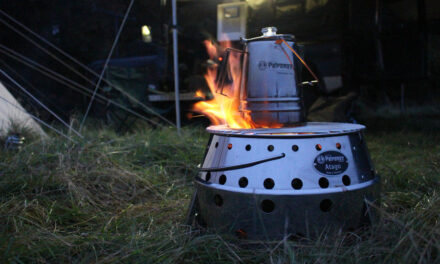
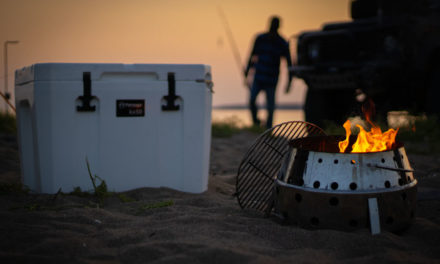
We recently cooked a simple 3 Ingredient fruit cake using a combination of the Petromax Atago and Dutch oven and Petromax Cabix Plus briquettes.
The recipe is simple:
1kg dried mixed fruit
700mls chocolate milk
cooking oil spray
2 cups of self-raising flour.
The first step is to soak the fruit in the chocolate milk overnight (keeping it refrigerated).
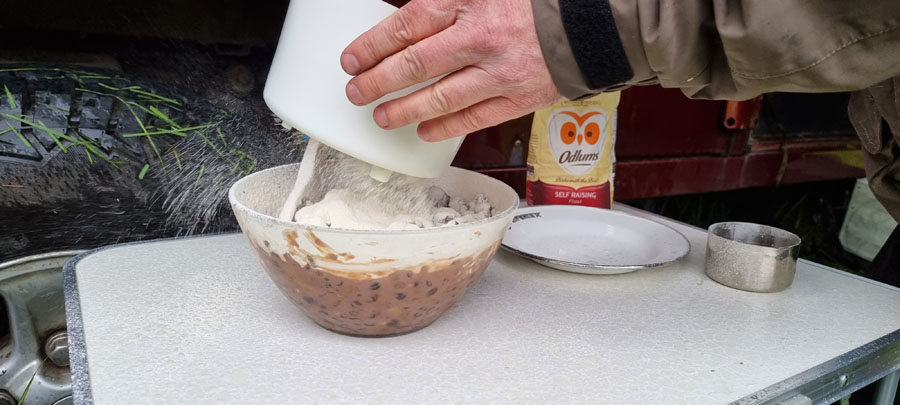
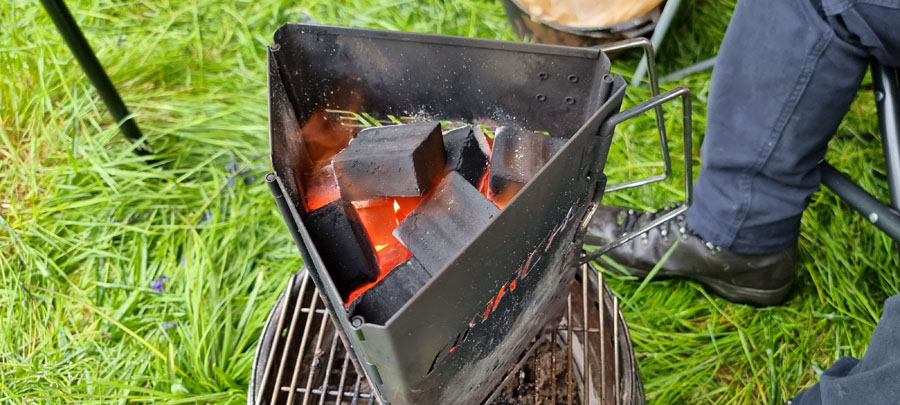
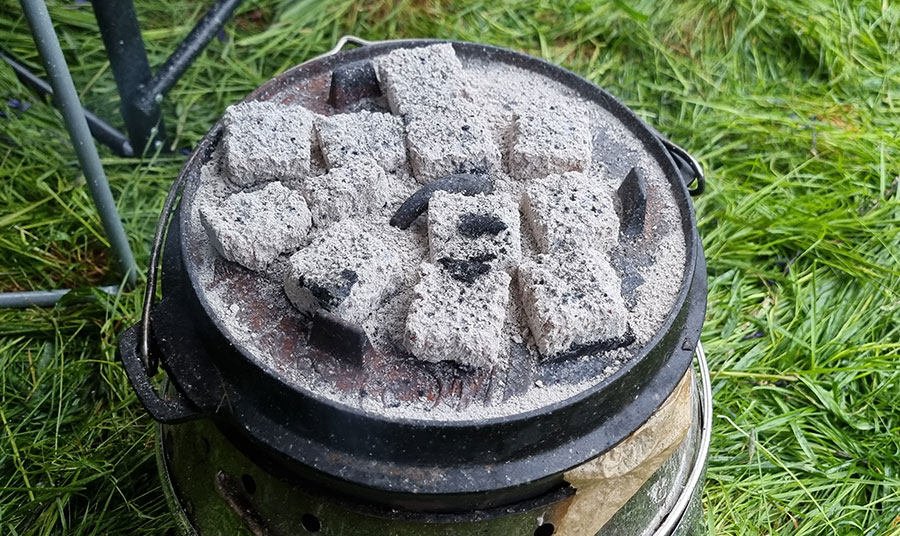
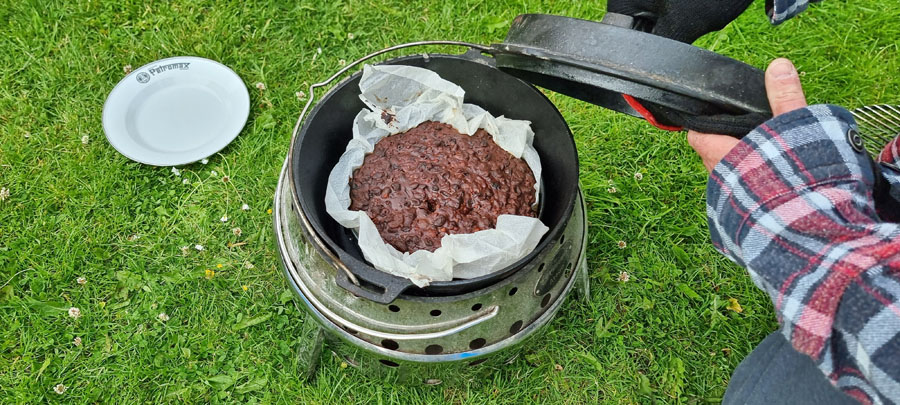
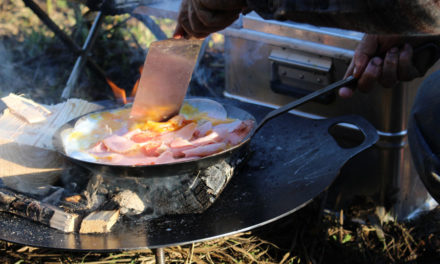
The following day, preheat the camp oven, the target temperature is around 160C. Line the base and sides of a round baking tin with greaseproof paper, and spray some cooking oil onto the interior of the paper. Slowly sift the flour into the fruit and chocolate milk mix , mixing continually (ideally using some sort of sieve for this process)mixing well and evenly. Then pour or spoon the mixture into the prepared cake tin. Place the tin into the dutch oven, place the lid onto the oven, place the briquettes onto the lid (two-thirds on top and one-third underneath). And bake for about 3 hours. To test if the cake is ready you can put a skewer into the cake and if it comes out clean/not sticky the cake is ready.

 The important thing is to manage the temperature of the oven as much as you can. And Petromax has produced a helpful ‘Table of distribution’, or rule of thumb regarding the number of coals, briquettes and much more.
How many Cabix Plus briquettes do I need for my Dutch Oven? This might be the most frequently asked question amongst Dutch Oven newbies. At home, the temperature regulation is no great challenge – when cooking outdoors with briquettes, however, the right number is decisive for the heat in the pot.
Here follows some important guidelines for the right number of briquettes.
There is an important guideline in order to regulate the temperature of a Dutch Oven: Better start with only a few briquettes and add some more if needed. However, if the pot becomes too hot, usually the food is burnt. At the beginning of your career as an outdoor chef, cautiously find out the right temperature and always start with only a low number of briquettes.

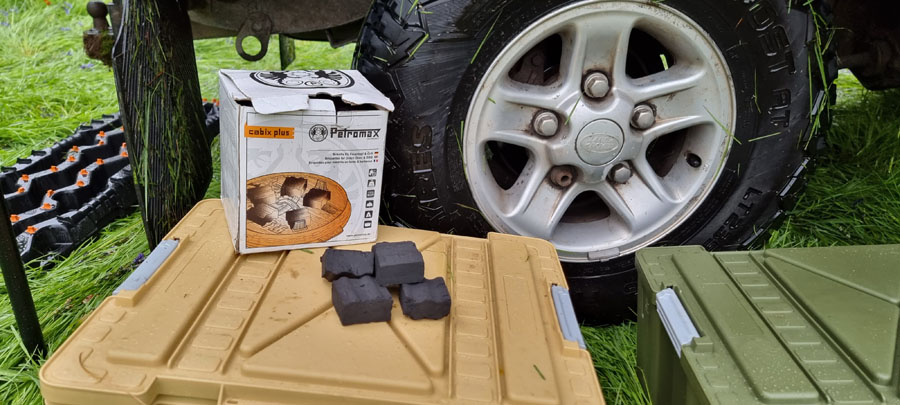
 With the square Cabix Plus briquettes, you now have the perfect charcoal for Dutch Oven. The broad surface area ensures a consistent top and bottom heat, while the ridge profile provides for an excellent ventilation and thus a constant burning. With a burning time of up to four hours, they are dimensionally stable and provide for even embers with constantly high calorific value.A different approach to the use of briquettes is necessary for different types of cooking and the Dutch Oven provides for cooking, baking and roasting types.
Depending on the preparation type, the distribution of briquettes on top and under the Dutch Oven varies. Here are some rules of thumb:
When cooking, the heat mainly comes from the base: a third of the briquettes is on top of the lid, two thirds are under the Dutch Oven.
When baking, the heat mainly comes from the top: two thirds of the briquettes are on top of the lid, one third is under the Dutch Oven.
When braising, the heat should be distributed evenly: each half of the briquettes is on top of the lid as well as under the pot.
For roasting you only need bottom heat.
The right number of briquettes for the different sizes of Dutch Ovens. Depending on the Dutch Oven size, the number of briquettes varies.
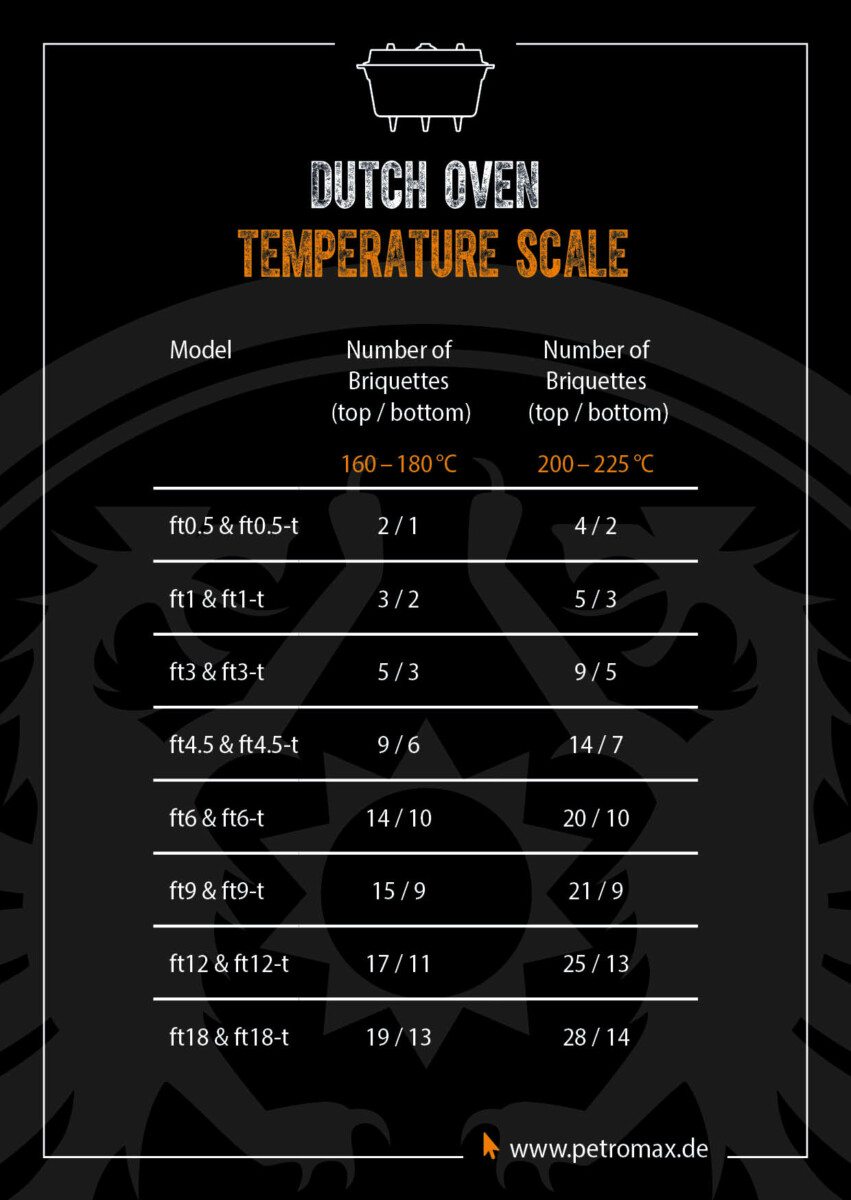
Important note: not only the size of the Dutch Oven, but also the briquettes quality, the wind and the ambient air temperature have an impact on the temperature in the Dutch Oven. Thus, the table below serves as a point of reference. Your know-how grows with each outdoor adventure! We must admit that we did burn this cake the first time we tried it, we used too many coals and the cake got burned before it was cooked. Our second attempt was successful (and delicious) however.
![]()
Recent Comments