
So what So is a Crossmember? well according to Wikipedia it’s a structural section that is transverse to the main structure. In the automotive industry, the term typically refers to a component, usually of steel, usually boxed, that is bolted across the underside of a monocoque / unibody motor vehicle, to support the internal combustion engine and / or transmission. For the suspension of any car to operate as it should, for proper handling, and to keep the body panels in alignment, the frame has to be strong enough to cope with the loads applied to it. It must not deflect, and it has to have enough torsional strength to resist twisting.
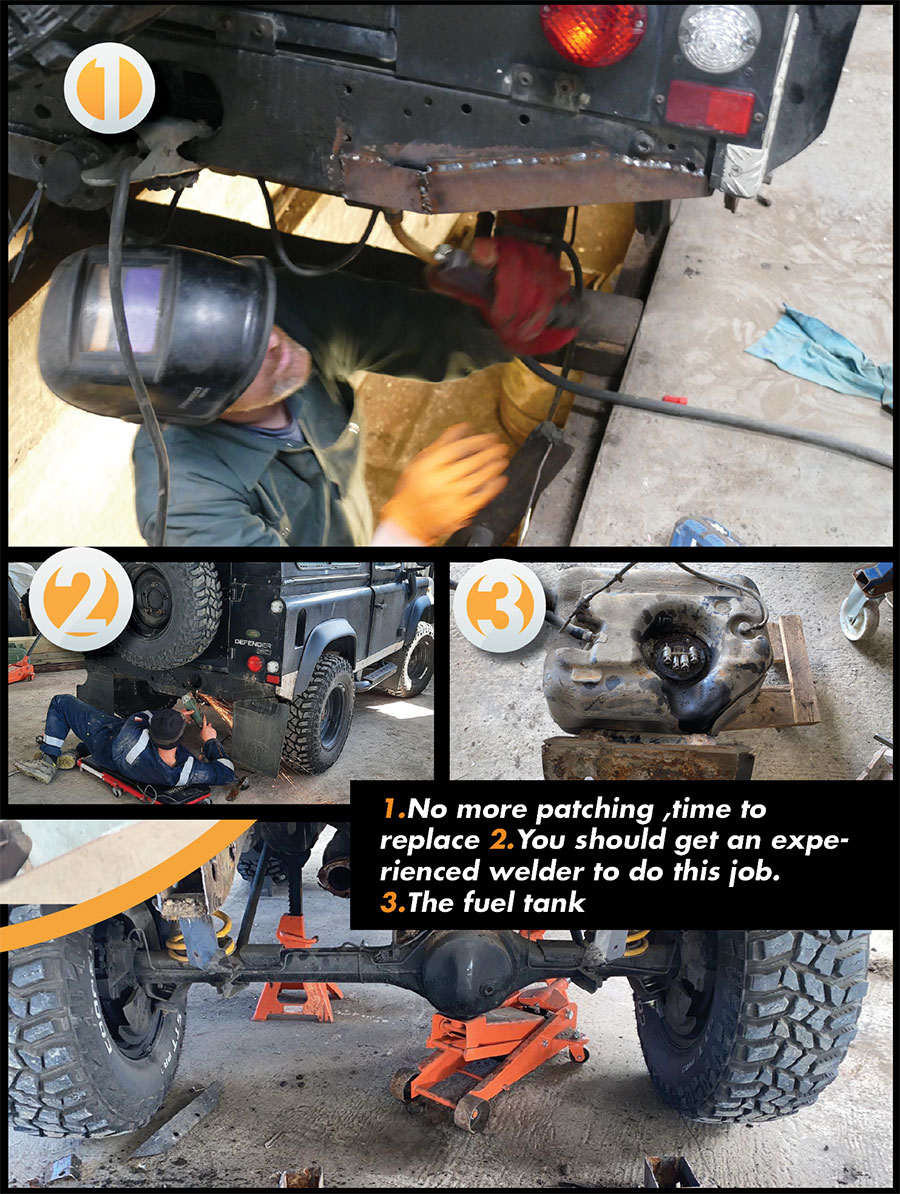
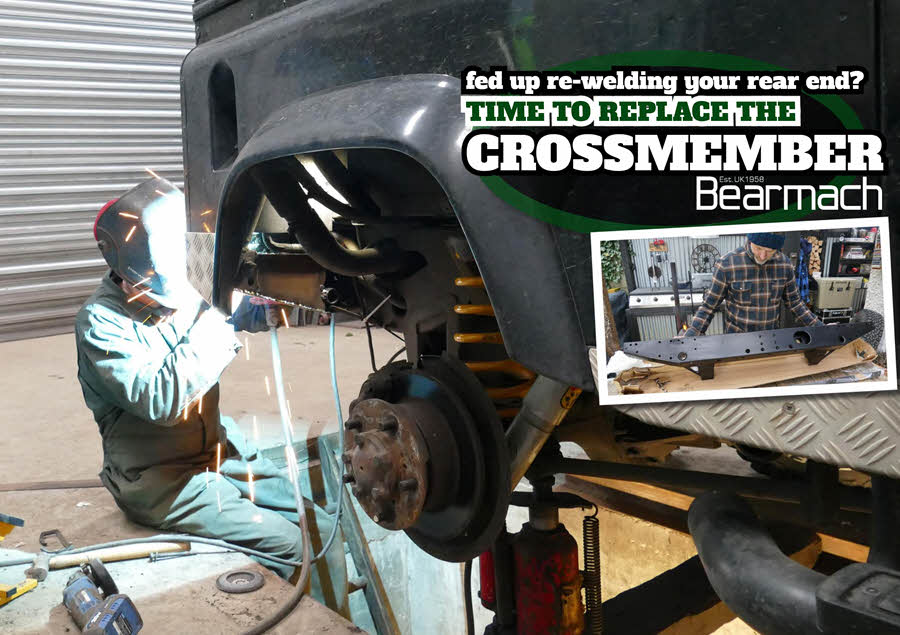
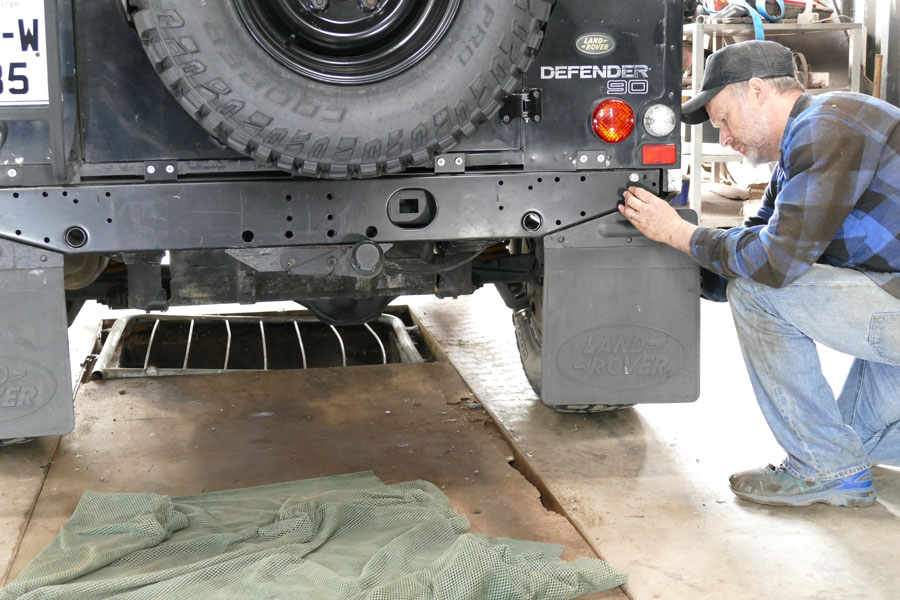
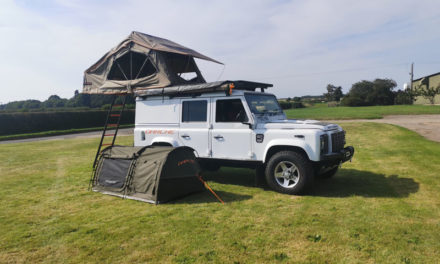
On the 90 we have been patching up the original factory crossmember for the last six years, so we got approximately 15 years out of the original one, which is not great really but I guess the 90 has spend a fair bit of its life driving up and down beaches, tackling muddy tracks do doing what it was built for, so all these combined have taken their toll on the rear end. So why are they known to deteriorate on Defenders, well guessing that the design of them lends to the accumulation of mud, sand and water with poor drainage etc and over the years it is a recipe for deterioration. It had gotten to the stage on our 90 that we could no longer keep patching up the crossmember and it just was not safe for towing and recoveries etc and so it was time to replace it with the Bearmach offering. We went with the Bearmach Crossmember that has the short extensions as the rest of the chassis was thankfully in pretty good shape.
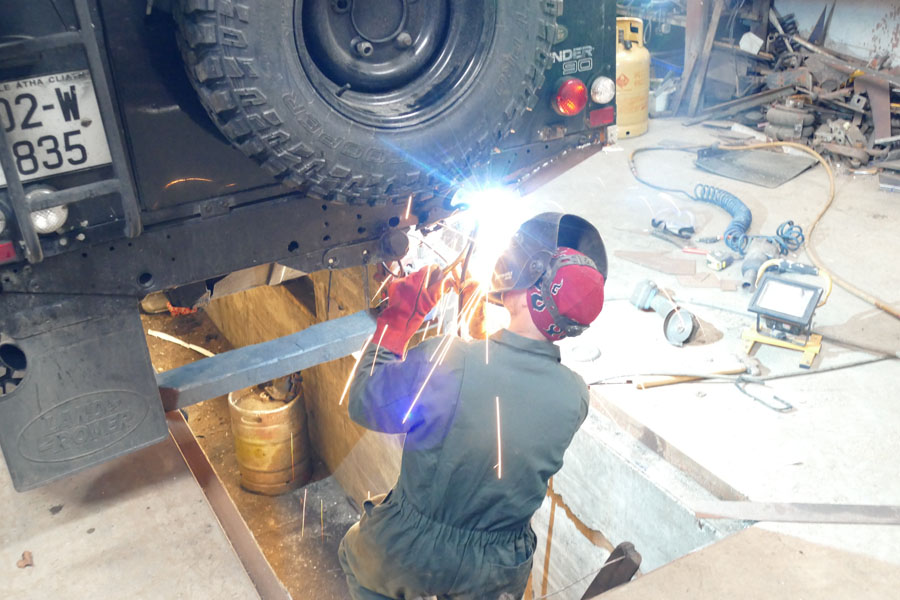
Changing the Crossmember is a pretty big job and should be done by somebody who knows what they are doing. The last thing you want is to make a welding mistake and cut your chassis in the wrong place, ideally, you need a competent welder who has the right equipment and preferably has experience in doing similar jobs.
So what’s the process?
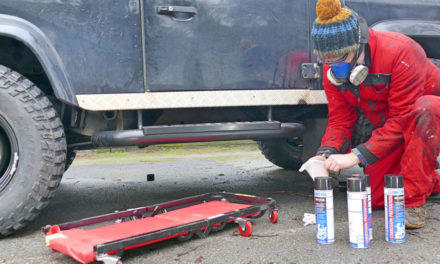
First of all make sure the vehicle is stationary with the handbrake secured etc.and always wear protective clothing and goggles, even if just assisting on the job.You should also make sure that your vehicle does not have much fuel in it as you will need to remove the fuel tank. Also be prepared to shear off some of the older bolts. When the fuel tank is out t store the tank in a safe place. Also don’t forget to disconnect the wiring loom.Mark out very carefully where you will be cutting the chassis as you need to make sure that the new Crossmember fits well for welding, they don’t stretch!!!! Check double check and double-check, don’t panic though as the tabs on the new Bearmach crossmember will overlap enough to give you some peace of mind.
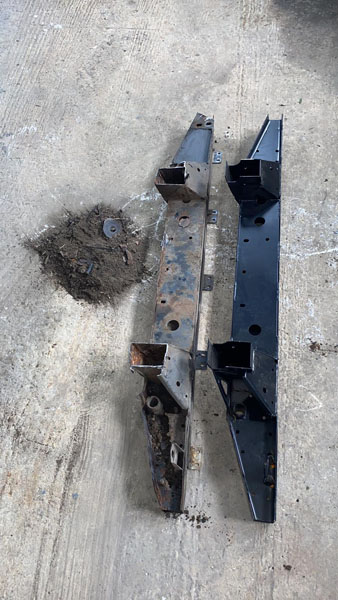
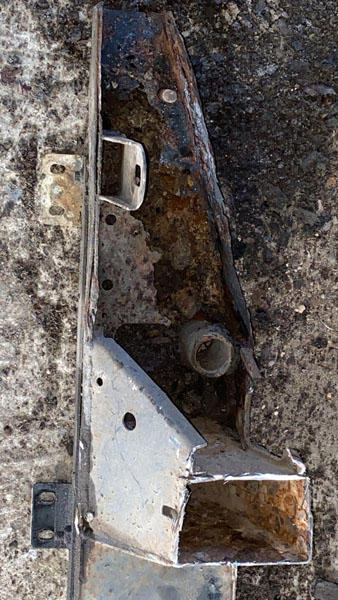
After you remove your old crossmember you will be amazed with the amount of crap they accumulate over the years, ours was actually a lot worse than what we expected. The Bearmach Crossmembers are designed to neatly fit into place, you have the option to hammer out the edges a bit should it be too tight but it should be fine. Take your time when aligning up the Crossmember, you may have to bang it into place in order to get it right. Weld it tight and that’s it!!!! What a joy to see a new rear end. For more information on the range of Bearmach Crossmenbers click here.
Check out Episode 3 of the Land Rover Build Below
![]()
Gearbox Clutch & Flywheel – Bearmach – The TURAS Landrover Build
Bearmach Gets You There and Back – Parts Suitable for Land Rover Vehicles


Recent Comments