
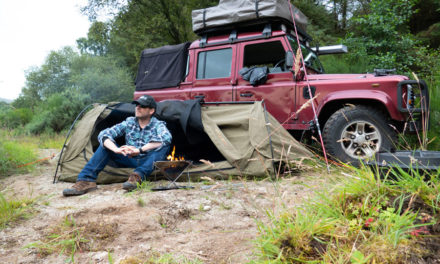
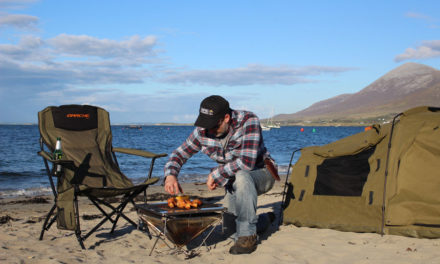
 One of the most important jobs that we needed to do on the Land Rover build was to protect the chassis and underbody from deteriorating any further. This vehicle over the last eighteen years has seen its fair share of beaches, mud and every other type of condition that is not a friendly to preserving the vehicle’s undercarriage. Thankfully it’s mostly surface rust that exists on the Defender, not saying that its perfect but it is manageable. Before we get into what we have done and used to address this ongoing issue let’s have a closer look at what rust actually is. Basically rust is the corrosion of metals which takes place under certain conditions, it’s a chemical reaction (oxidation) between steel, or iron, oxygen and water, which causes the appearance of iron oxide (or rust).
You can also see Dinitrol Featured in our Land Rover Build Episode 2 below.
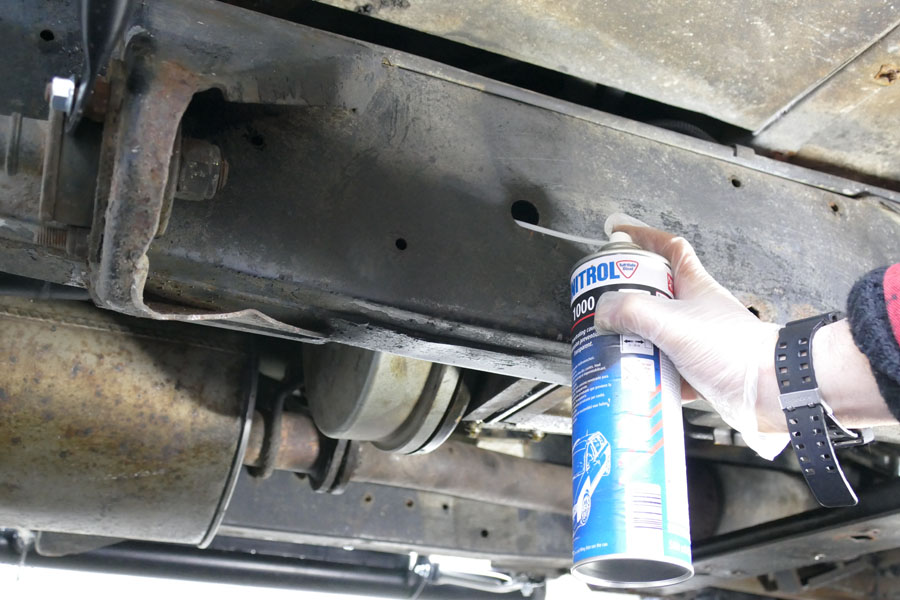
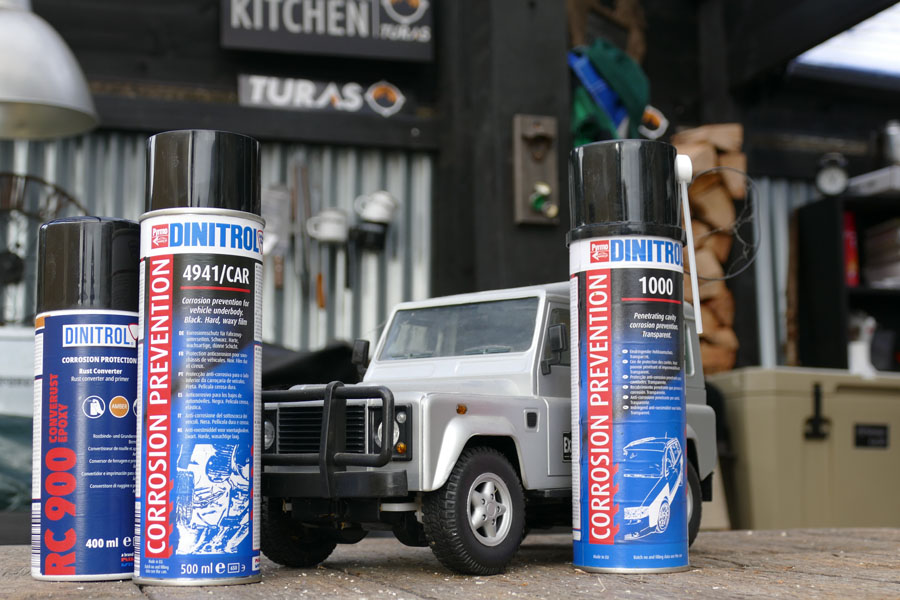 The most common cause of rust on vehicles is the exposure of metals to water. Salt water causes rust to occur more quickly as saltwater accelerates the oxidation process. So now that we have the science explained it was time to do some research into what would be the best product to address this issue. We decided to use Dinitrol for a number of reasons, first of all this German company over the last seventy years have perfected vehicle corrosion protection and have come up with a number of solutions/applications that will protect your vehicle some of these include underbody chassis coatings, cavity wax products and engine compartment protection coatings.. As this was a job we would be doing ourselves, they also have aerosol kits which make it possible for anybody to do this work, no need for specialised application equipment. The two main products that we would be using on the uderbody of the vehicle includes the DINITROL 1000 Cavity wax 500ml aerosols and the DINITROL 4941/Car black underbody wax.
The rustproofing treatments can be applied in 6 easy steps shown below and the kits are supplied in aerosol format or with an undercoating gun for people who have access to a compressor or air supply.
Step One
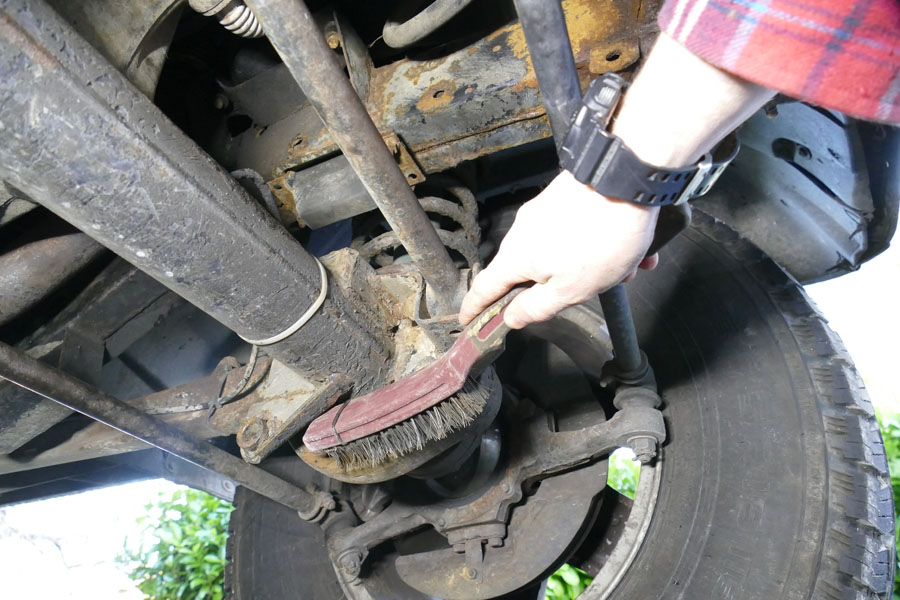
You may also require a wire brush to remove any loose material to find the solid base metal.
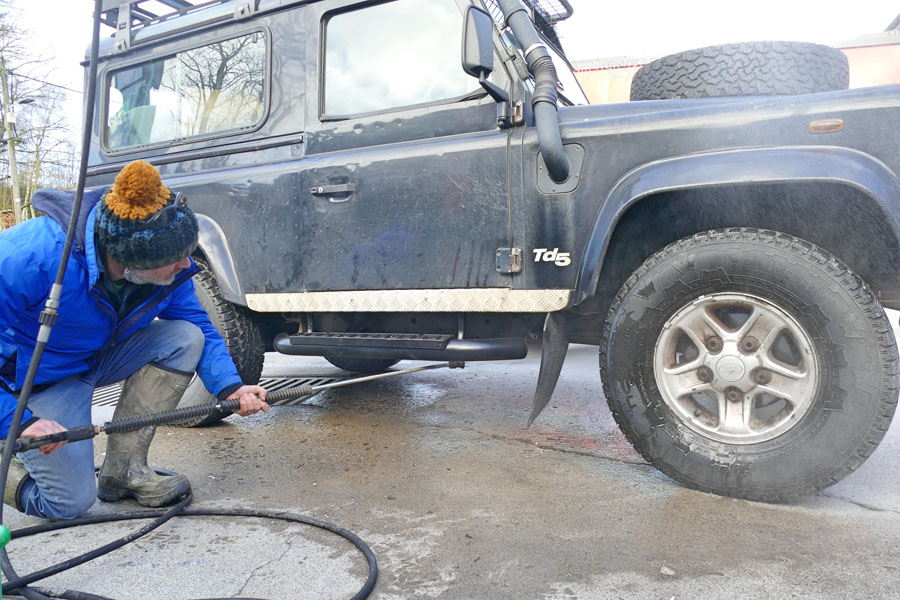
Before starting the DIY rustproofing steam clean the vehicle and allow to dry.Once dry, mask up any areas that you do not want to spray on the vehicle. Wear suitable protective clothing and place floor covering under the vehicle to protect the surface from product drips.
Step Two
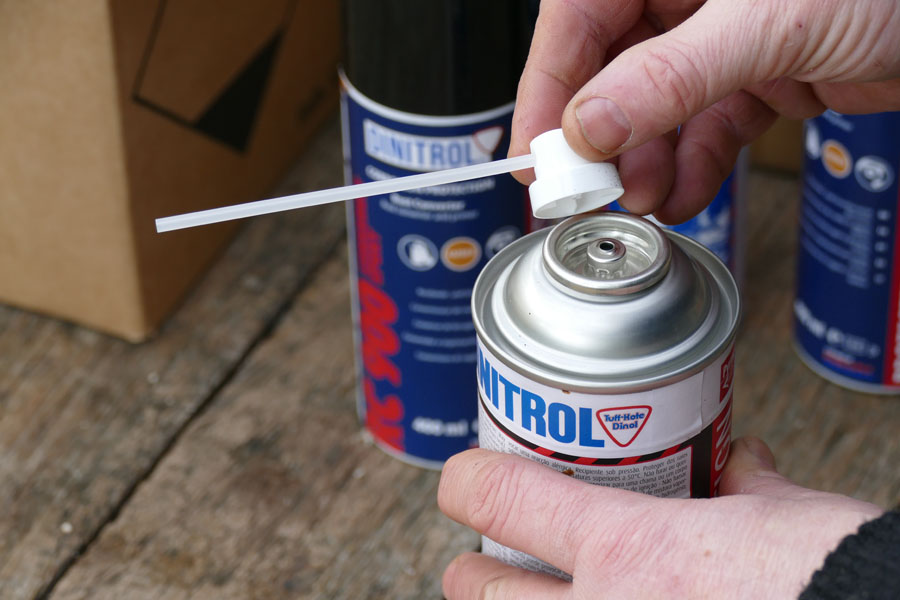
If necessary, treat any rust present on the vehicle if necessary you can use the specialist RC900 Converter product. Remove any flaking rust and apply the DINITROL® RC900 Rust converter to the remaining rust making sure the edges are coated to ensure a good seal.
Step Three
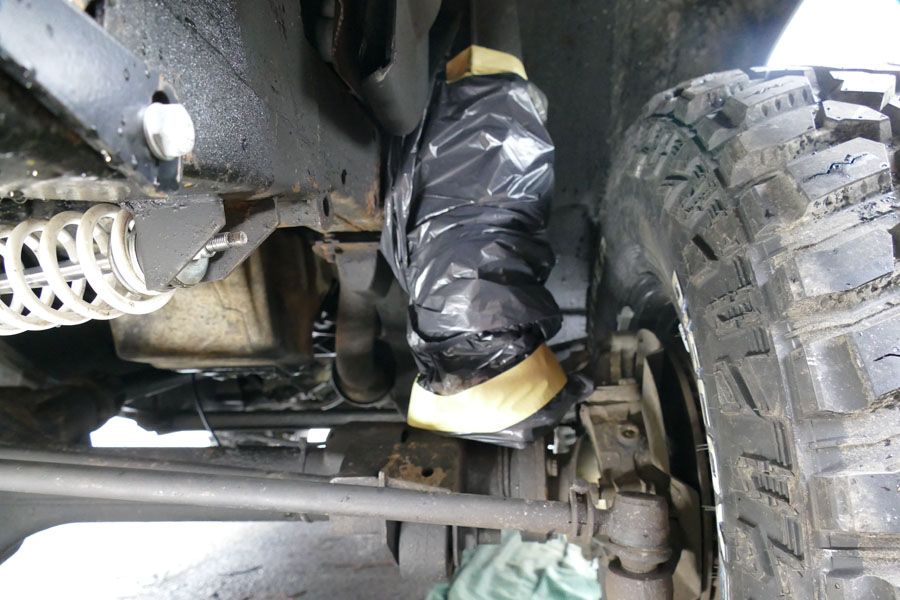
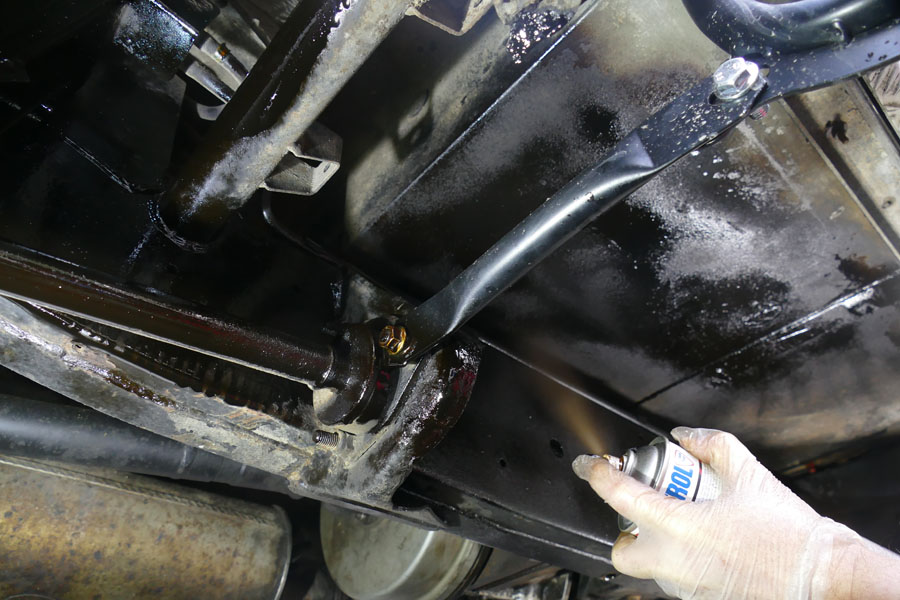
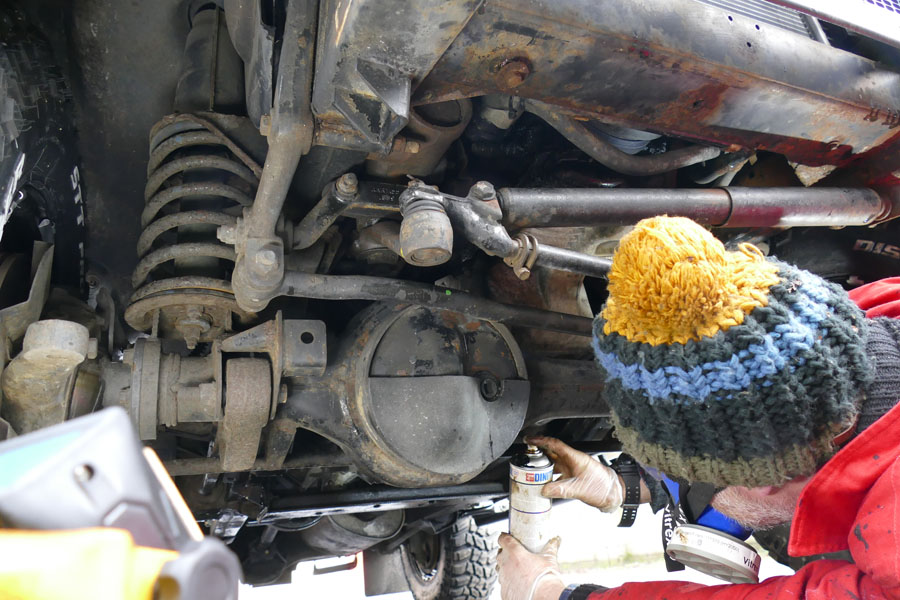
Spray cavity wax into all vehicle bodywork box sections, chassis & doors. Using the extension nozzle start to inject the product into internal bodywork and chassis cavities.
Step Four
Also apply a thin coat of the cavity wax to the underside of the vehicle. Spraying a thin coat of cavity wax prior to applying the underbody coating softens up any existing coating that may be present and helps with the adhesion of the underbody or stone chip coating. Cavity waxes also contain rust inhibitors whilst the underbody coating combats the highly corrosive effects of road salt and abrasion.
Step Five
Apply the underbody coating over the cavity wax layer, this can be done while still wet.In some circumstances, it may be necessary to warm the underbody coating prior to spraying due to being much thicker than the cavity wax.
Step Six
Finally, remember to clean any excess or overspray from the vehicle. Your vehicle is now protected from corrosion, please remember to inspect the underbody annually and touch the coating where necessary to check the surface in more detail.

![]()


Recent Comments